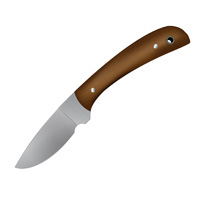
Step 1
First, download the picture I took of a knife. Then using the Pen Tool, outline the shape of the knife. Then put the "blade" and "handle" shapes on different layers.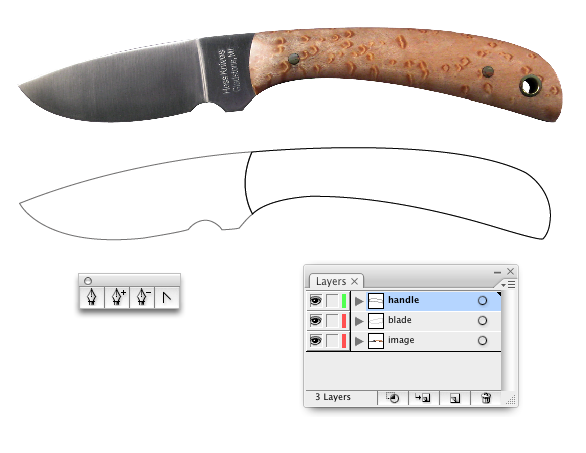
Step 2
Hide the blade layer and select the handle. Make a copy of the handle on a new layer and name it "texture." Hide the texture layer for now.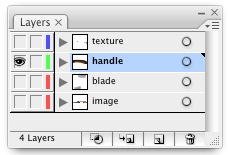
Step 3
Select the handle and make the fill #8C6239 with no stroke. Go to Object > Create Gradient Mesh. Set it up with 4 rows, 4 columns, and flat.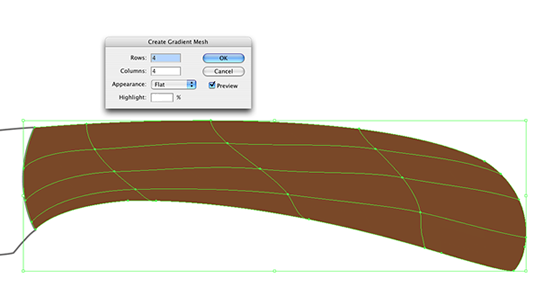
Step 4
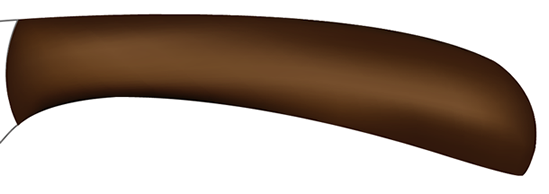
Select your Gradient Mesh Tool and click any point around the edge. Change the color of the point to #331E16. You can control the gradient much like the curve on the Pen Tool. Change the color of every point around the edge of the handle.You can create more points if you need by clicking off an intersection point. You may have to play around a little to achieve the gradient you want. The final gradient should be similar to the one below.
Step 5
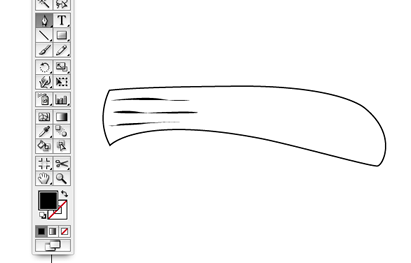
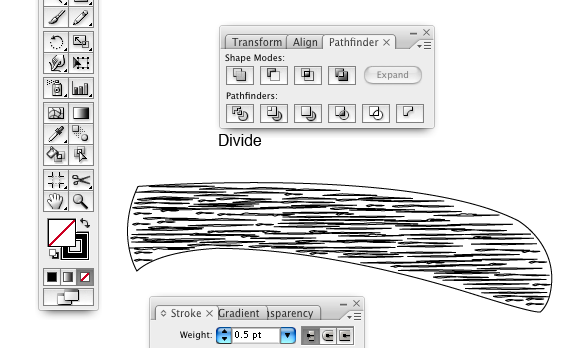
Lock the “handle” layer and then go to your "texture" layer. Select the Pen Tool, with a black fill and no stroke. Make shapes similar to the ones below. Using your Selection Tool, press Alt and drag the shapes to duplicate them.Once it is filled, select all the shapes and press Divide in the Pathfinder Palette. Select the image and set it to a 0.5 pt black stroke with no fill. We use the pathfinder method to make this into one shape. This makes the workflow much easier.
Step 6
Turn the opacity of the texture layer down to around 15% and make sure the handle layers are lined up.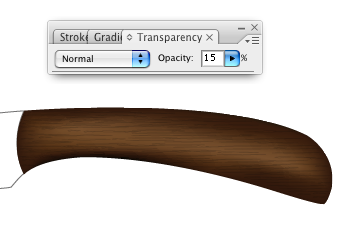
Step 7
Lock your "handle" layers and go to your "blade" layer. Instead of using a gradient mesh, I will show an alternate method of achieving the same effect. Make three copies of your blade and apply a gradient similar to the ones shown below. We will use the third copy in an upcoming step. The top blade is your original so keep the opacity at 100%. The second two blades you can turn down to around 30%.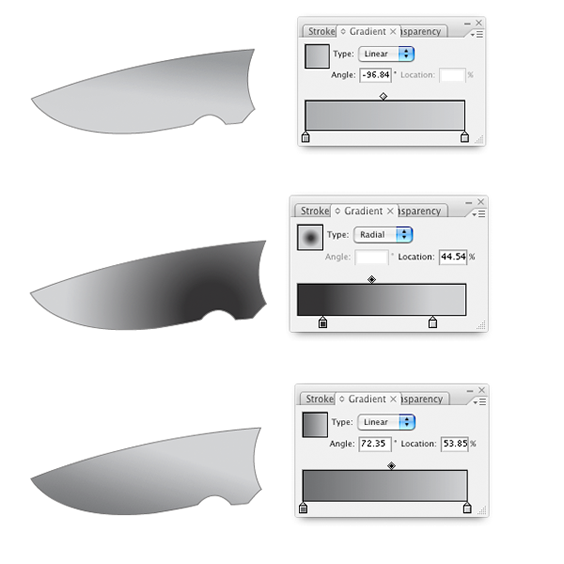
Step 8
Line up the second two blades on the original. Resize them slightly so they are lying just above the original. This will give the blade some dimension.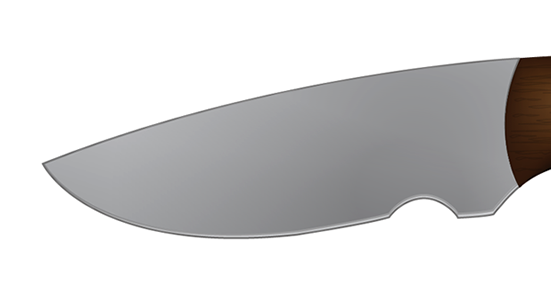
Step 9
On the third copy of the blade we are going to repeat Step 5 to make the texture of the metal.
Step 10
Line up the texture to the original blade and turn the Opacity down to around 2%.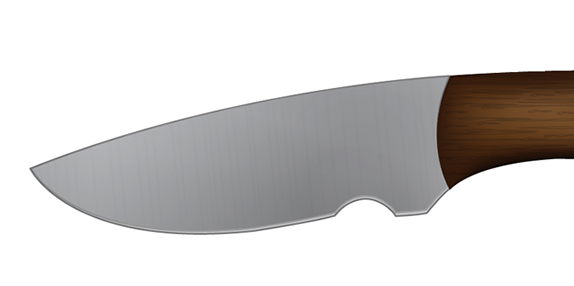
Step 11
Create a new layer for the last details. Select your Pen Tool and make a black and a white shape, as shown below. Turn the Opacity down on them to 25%.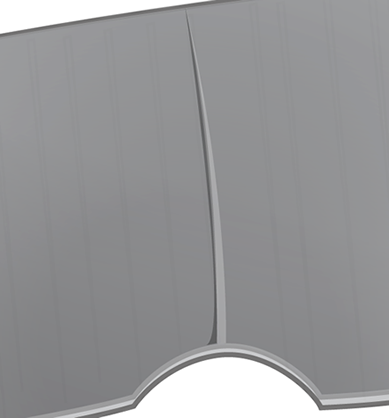
Step 12
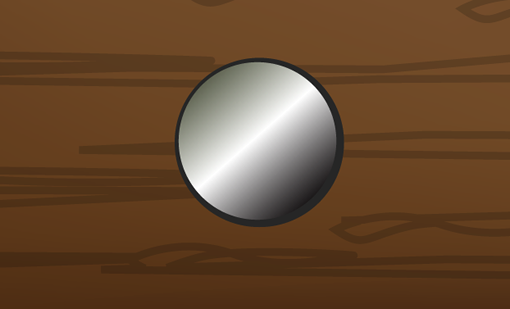
Select the Ellipse Tool and create two 10 pt circles. Set one with a .75 pt stroke and the other with no stroke. Create a linear gradient similar to the one shown below. Position the stroke behind the gradient slightly off center for dimension.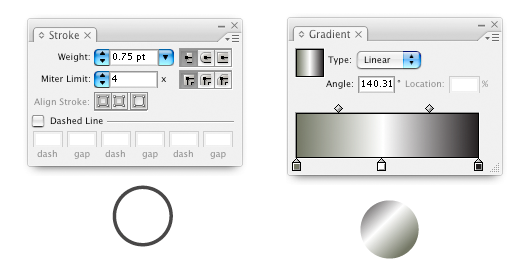
Step 13
Make a copy of the shape from Step 12 and position it accordingly.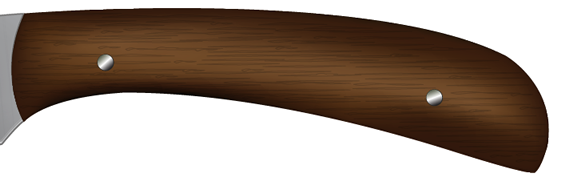
Step 14
Repeat Step 12 with a 15 pt circle. Your color choice does not have to be the same as mine, but you should have the same order. Start with a dark color and keep selecting lighter colors. Then fade back to dark.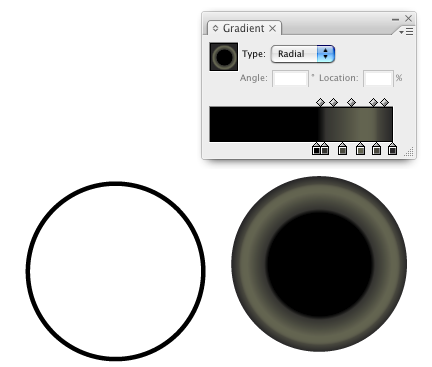
Step 15
Use your Pen Tool to make a shape with a white fill and no stroke like the one below. Position the shape in the appropriate spot.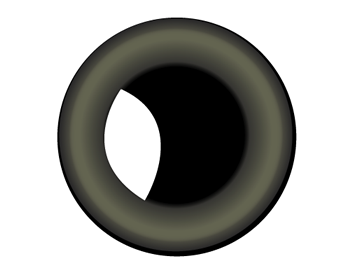
Conclusion
Creating realistic textures may take a little time to achieve, but it’s rewarding once completed. I hope you enjoyed the tutorial!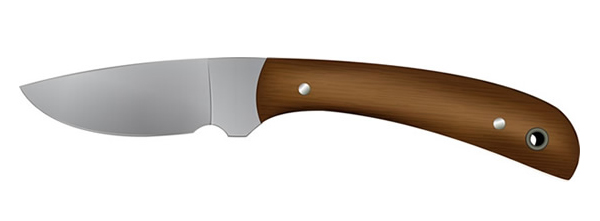
No comments:
Post a Comment