
Step 1
Lets get started by creating a 10 in by 10 in document. The dimensions you choose shouldn’t matter, but it might help to choose the same dimensions just to follow along with this tutorial.Step 2
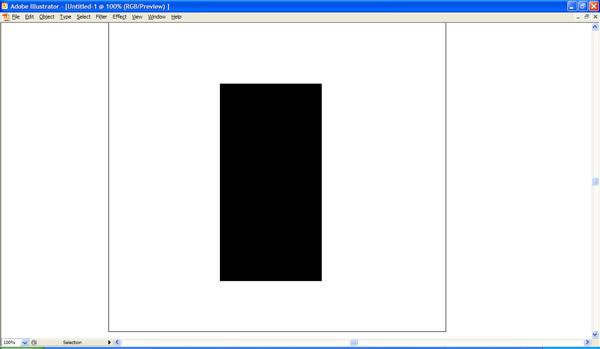
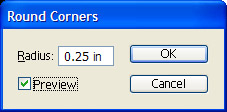
Draw a black rectangle 3.0202 in by 5.8541 in. You can do this easily by selecting the rectangle tool and by clicking anywhere on the art board. Now go to Effect > Stylize > Rounded Corners. Enter a Radius of 0.25. Now go to Object > Expand Appearance. This will convert the shape to outlines.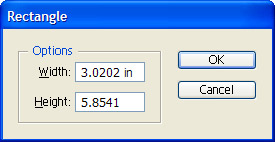

Step 3
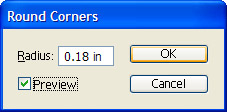
Now draw a second black rectangle 2.7219 in by 5.5866 in. Repeat the steps above to round the corners. Enter a radius of 0.18. Now go to Object > Expand Appearance.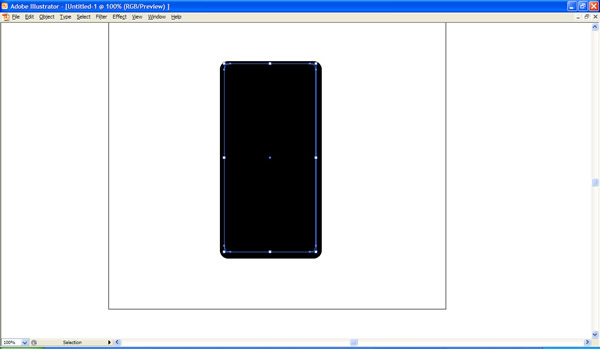
Step 4
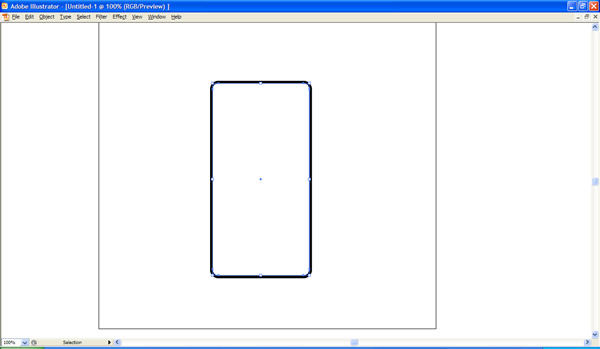
Select the rectangle you created in Step 3. Copy this object and paste to front. Change this object’s color to white and adjust its size as shown below. You can do this by selecting the points with the direct selection tool and by nudging them over with your arrow keys.Now align all three rectangles that we created in Steps 2 – 4 to their horizontal and vertical centers. Move this layer behind the object we created in the previous step.

Step 5
Now we’re going to use Illustrator’s blend tool to create the iPhone’s rim. Go to Object > Blend > Blend Options. Select specified steps and enter 20. Select the largest white rectangle that we created in Step 2 and the middle sized black rectangle that we created in Step 4. Then go to Object > Blend > Make. This will blend both these object together.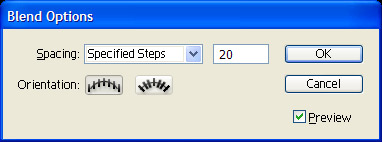

Step 6
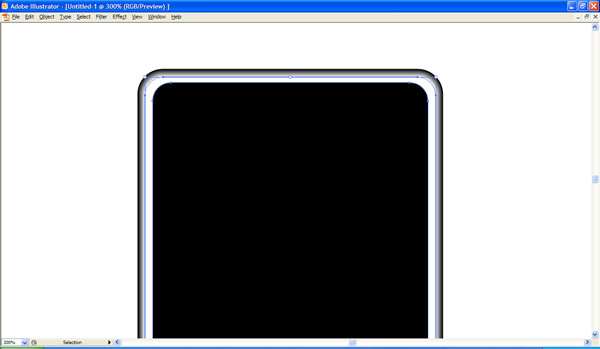
Now with the blend still selected go to Object > Expand and check both Object and Fill. Now ungroup all the layers twice so that they are all separate objects.Now select both the top most object that we just ungrouped and the rectangle that we created in Step 3. Repeat the steps above to blend these two objects together. Make sure to expand and ungroup this blend as well.
Step 7
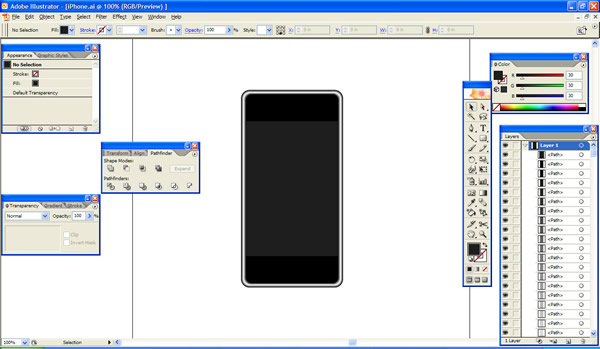
Now we’ll create the screen. Select the top most black rectangle that we just created. Copy it and paste it to front. Now draw a second rectangle that is 3.9938 inches tall but wider than the rectangle we just copied. Select both objects and choose intersect shape areas in the pathfinder palette. Then change the color to (#0C0C0C).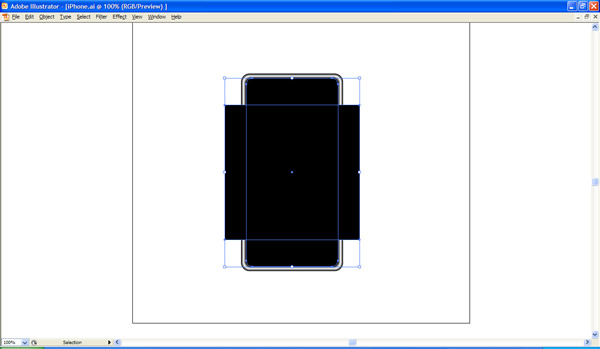
Step 8
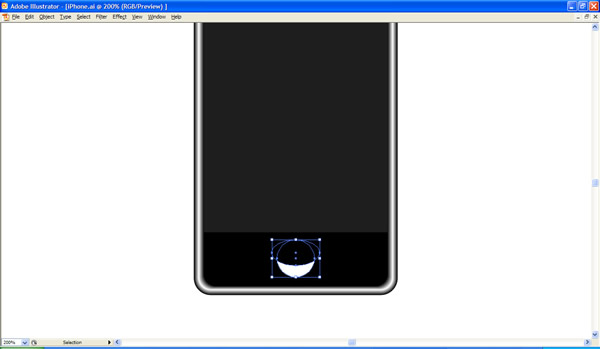
Now let’s create the button at the bottom. Draw a white circle 0.5555 in by 0.5555 in and place it as shown. Then copy this circle and paste to front. Now adjust the new circle until the path is as shown. Select both objects and select Subtract from Shape Area in the Pathfinder Palette.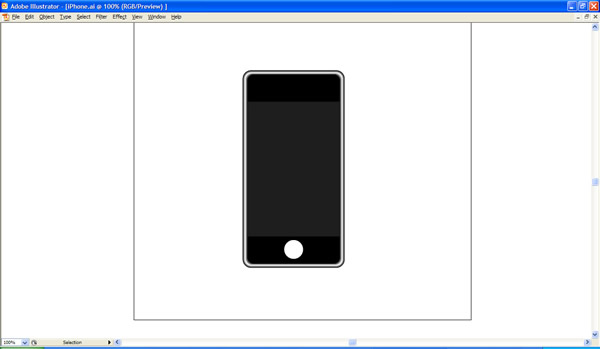

Step 9
Add a radial gradient from white to black as shown to finish this object off.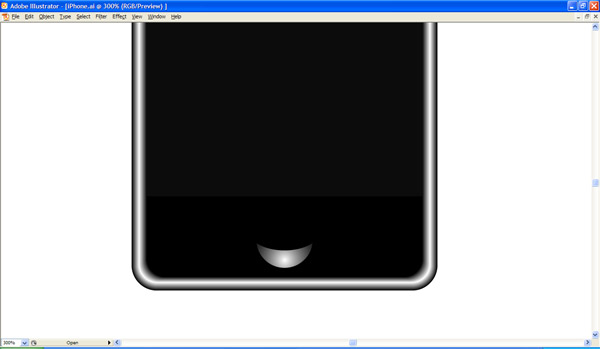
Step 10
Now draw a square, as shown below. Then go to Effects > Stylize > Round Corners. Enter 0.035 inches as the radius. Then remove the fill and create a white 1 pt stroke.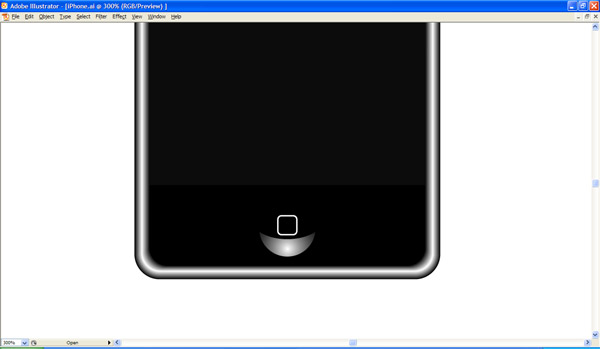
Step 11
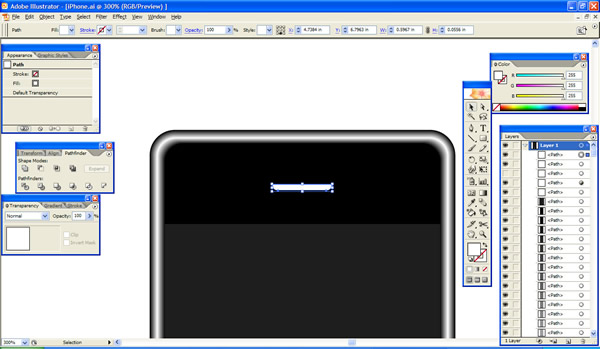
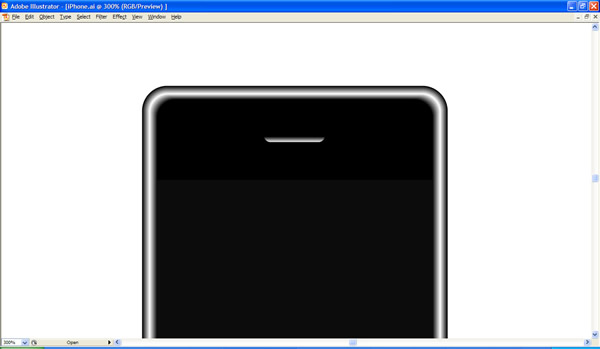
To create the speaker at the top draw a square. Round the corners by using the same steps as above. Enter in a radius of 0.08. Now expand this object’s appearance.Draw another rectangle on top of this object, as shown below. Then select both objects and click Subtract from Shape Area in the Pathfinder Palette. Then add a linear gradient from white to black.
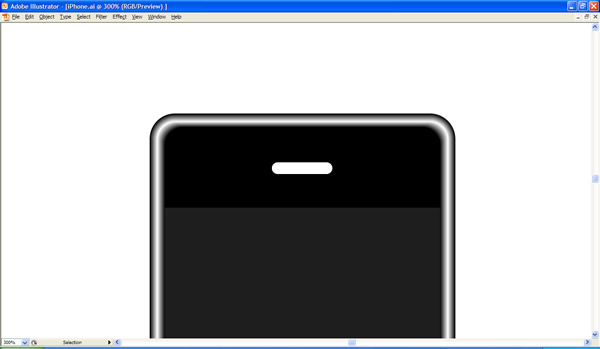
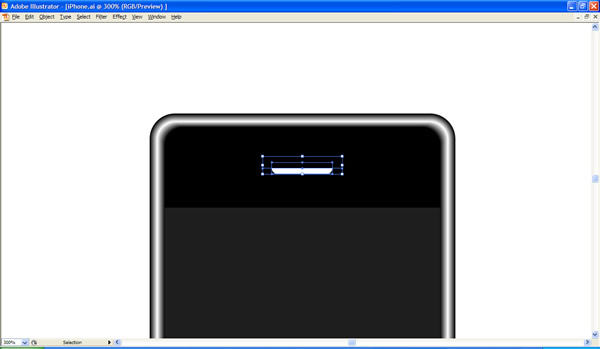
Step 12
Now place your artwork on the screen. You can do this in a number of ways. In this tutorial, I placed some simple text over the screen area. If you wanted to place your own artwork here you could either re-size or crop it to fit. You could use the screen that we created as a clipping mask. Choose whatever method works best for you.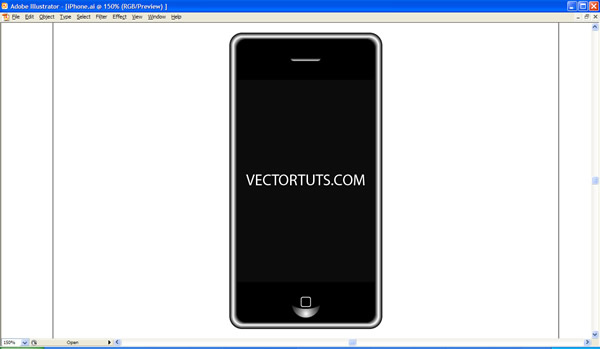
Step 13
Now we’re ready to create our reflection. Group all the objects that make up the phone. Open up the layer palette and expand the group we just created. Select the bottom-most black square that we created in Step 2. Copy this object and paste to front. This will cover up the entire graphic, as shown below.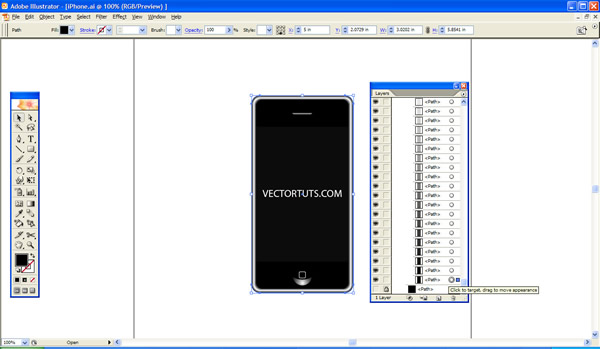
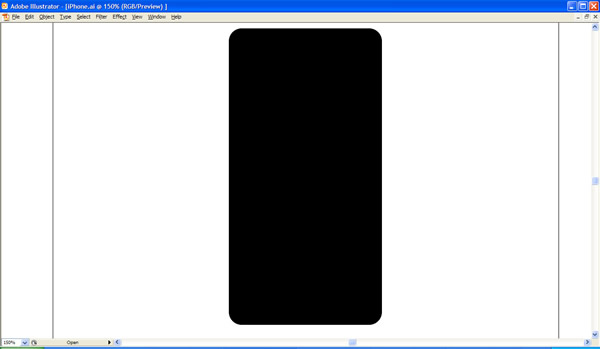
Step 14
Now select all objects that make up the phone plus the black rounded rectangle that we just created. Copy them all and paste them to front. Then group the copy. With the copy still selected, open the Transform Palette and in the flyout menu select flip vertical.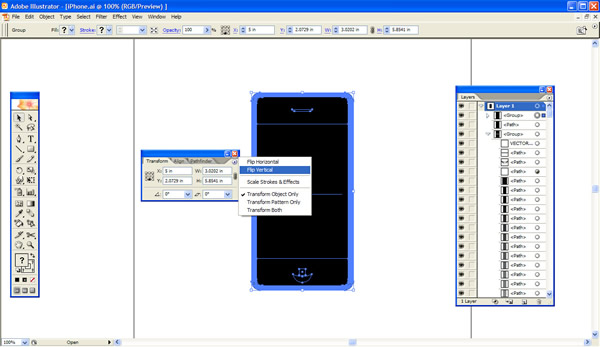
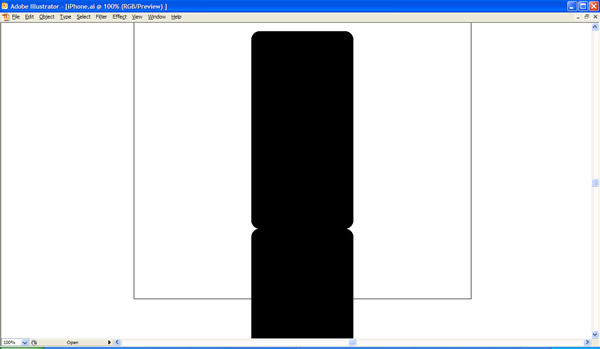
Step 15
You can now delete the object covering up the top phone.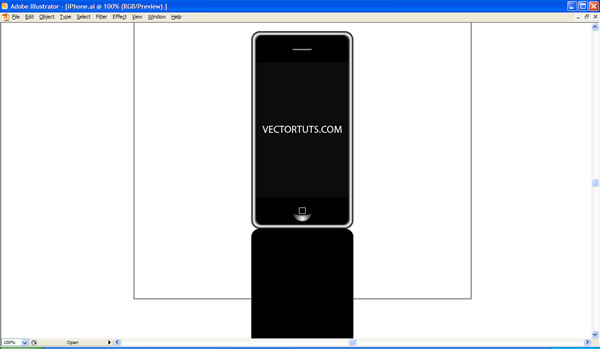
Step 16
Select the vertically flipped objects that we just created and ungroup them. You should now have a black rounded rectangle in one. You should also have a group that contains the objects making up the phone.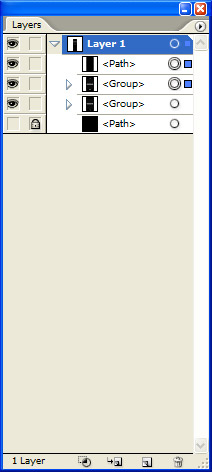
Step 17
Select both objects. Then open the Transparency Palette and select Make Opacity Mask. This will make the reflection disappear.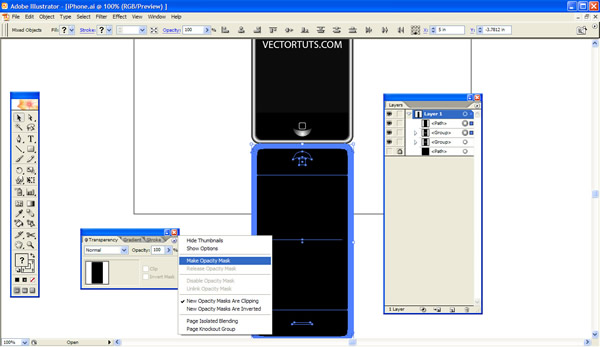
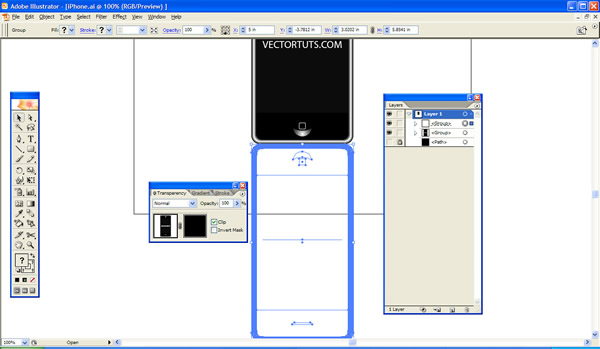
Step 18
In the Transparency Palette, you should see two thumbnails. Click on the black one. Then open the gradient palette and select linear. This will cause the Object to reappear, but fading from left to right. Select the gradient tool and create a vertical gradient as shown.Now click onto the other thumbnail in the Transparency Palette. This is essential, otherwise Illustrator won’t let you out of the mask. Adjust the overall transparency of this object to 30% or 40%.
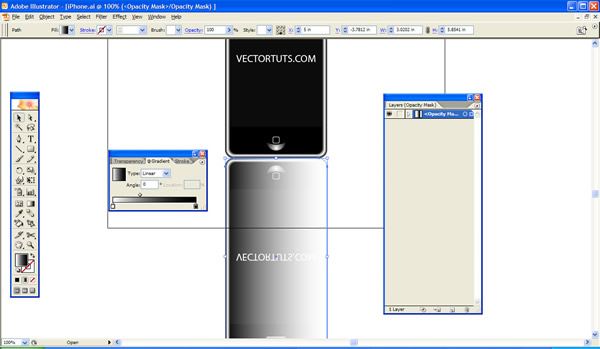

Step 19
Now we’re ready to draw our background. Create a black square 10 in by 10 in. Place it appropriately and lock it in place.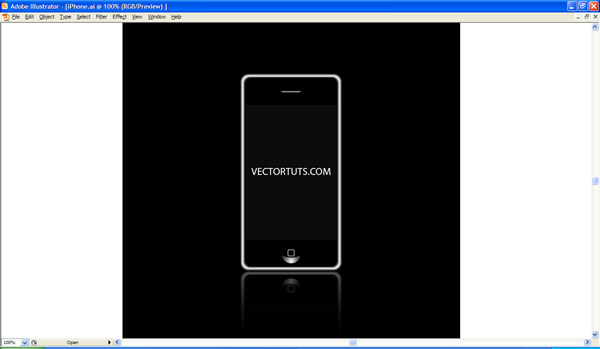
Step 20
Now type out the text. Use the Myriad Pro font to replicate the look.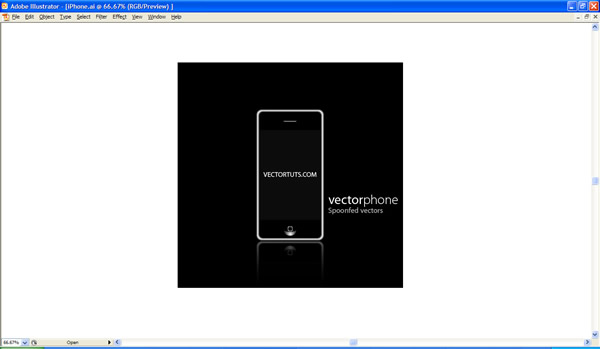
Conclusion
Creating an iPhone from scratch is easier than it looks. I hope that you enjoyed this tutorial and learned something from it. Also, have fun creating new iPhone wallpapers for all the new iPhone users to display within this iPhone design.
No comments:
Post a Comment