
In this tutorial you will learn to create a stylish x-ray print in just a few easy steps. It’s perfect for stylized typography or even an element for an illustration. Let’s begin!
Step 1
Create a new 256 by 256px document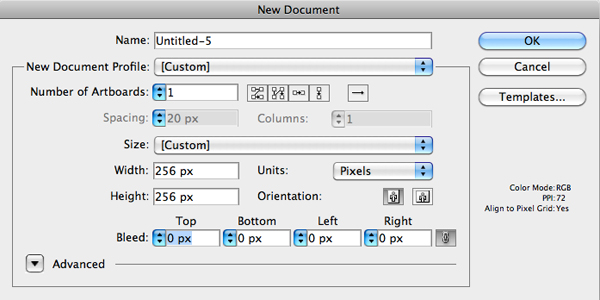
Step 2
Select the Rectangle Tool (M) and click the art-board. Set the dimensions to 256px and 256px. Align the rectangle to the middle of the art-board both vertical and horizontal dimensions.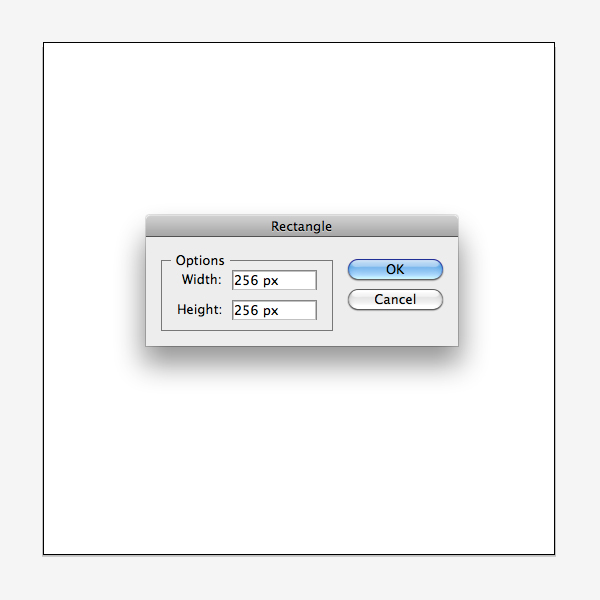
Step 3
With the rectangle selected go to Effect > Warp > Squeeze. Select Horizontal and set the Bend to 10%.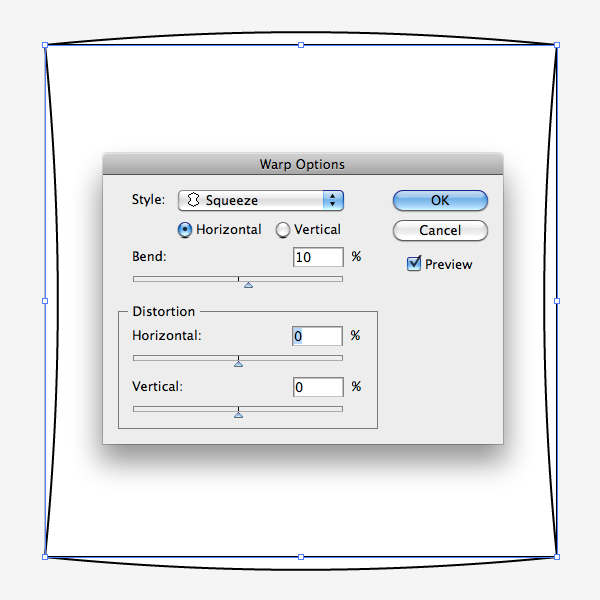
Step 4
Go to Object > Expand Appearance. Set the object’s height to 256px.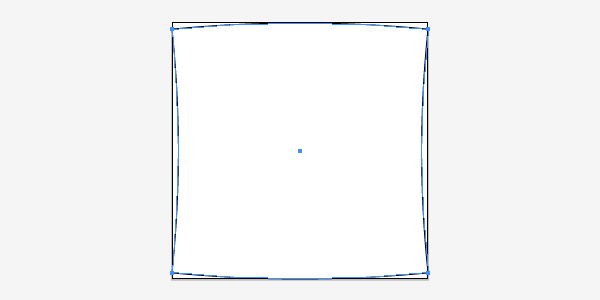
Step 5
Create a rectangle using the Rectangle Tool (M). Rotate it about 45 degrees. Select the squeezed object and the rectangle (holding Shift), open the Pathfinder panel and click Divide.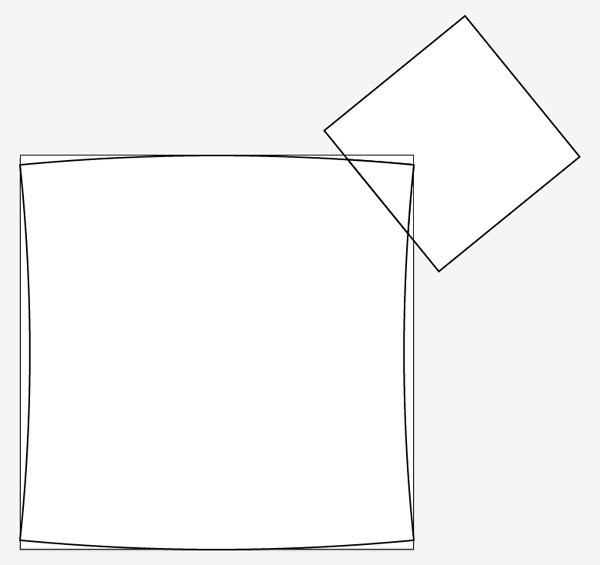
Step 6
Press Command + Shift + G and delete the part of the rectangle that does not intersect with the squeezed object. Select Convert Anchor Point Tool (Shift + C) and click each Anchor point of the triangle. Select Direct Selection Tool (A) and move the top right corner of the triangle to the bottom left.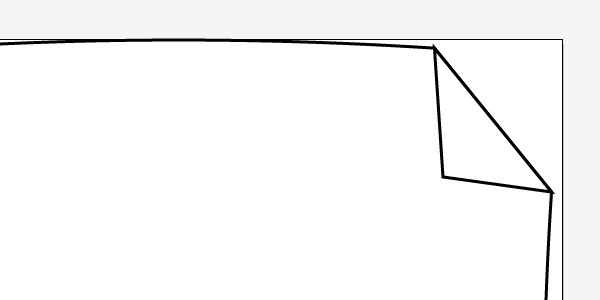
Step 7
Make a copy of the triangle and up-size it a little bit. Intersect it with the copy of the squeezed object using Pathfinder panel. Send it Backward – Command + Left Square Bracket.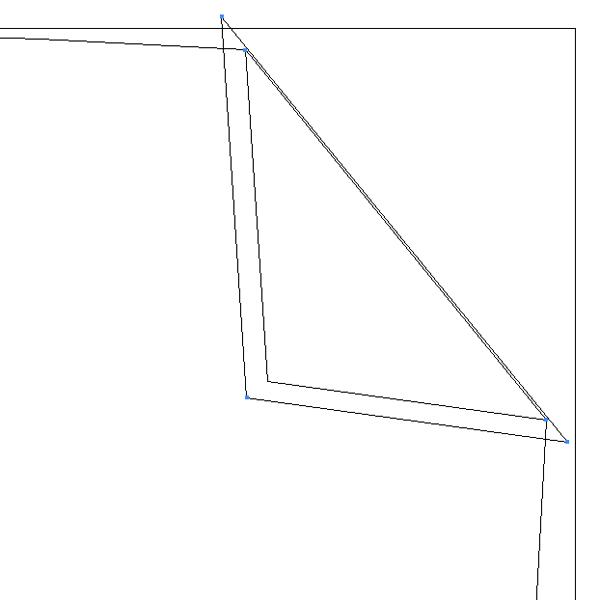
Step 8
Create a copy of the black swatch, double click it and check the Global check-box. Select the squeezed object and color it with a radial gradient. Pantone DS 213-2 C (Blue) for the left Gradient Slider (Opacity – 80%), Black for the right Gradient Slider. Add another Black Gradient Slider, set its Opacity to 90%, Location to 74.85%, on the Color Panel – 95%. Set the angle of the gradient to -45%. Select Gradient Tool (G) and move the right Gradient Slider to the bottom right corner of the squeezed object.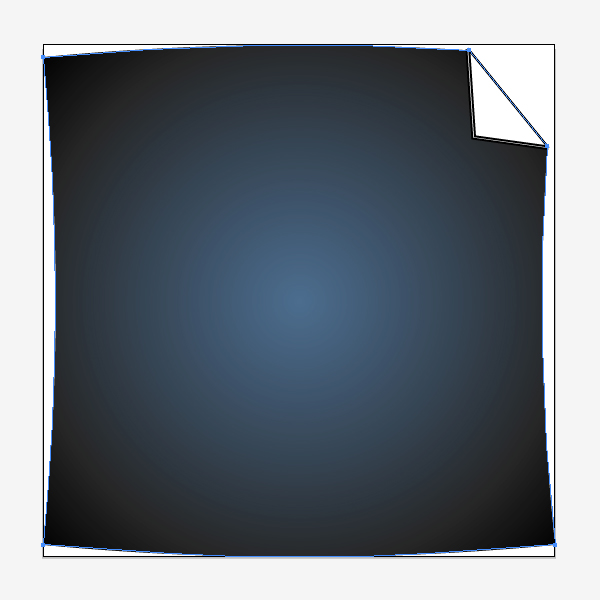
Step 9
Color the top triangle with a gradient fill: Blue for the left Gradient Slider (Location – 0%, Opacity – 80%, Color – 26%), Blue for the middle Gradient Slider (Location – 35%, Opacity – 80%, Color – 80%), Black for the middle Gradient Slider (Location – 100%, Opacity – 90%, Color – 70%). Select Gradient Tool (G) and adjust the angle of the gradient. Color the lower triangle with a gradient fill: Blue for the left Gradient Slider (Location – 0%, Opacity – 80%, Color – 50%), Black for the right Gradient Slider (Location – 100%, Opacity – 90%, Color – 100%). Set the gradient’s angle to -90 degrees.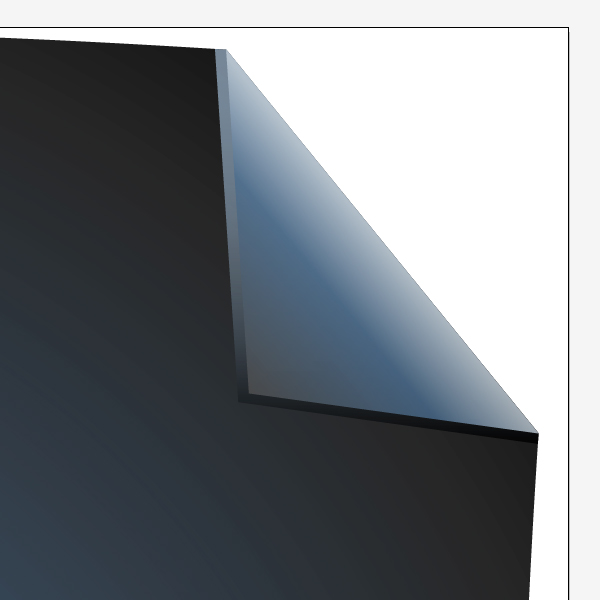
Step 10
Create a 2 copis of squeezed object, make one of them slight bigger and intersect it with another. Set the resulting object’s gradient fill to Linear with following sliders: Black (Location – 0%, Opacity – 100%, Color – 100%), Blue (Location – 20%, Opacity – 80%, Color – 70%), Blue (Location – 80%, Opacity – 80%, Color – 70%), Black (Location – 100%, Opacity – 100%, Color – 100%),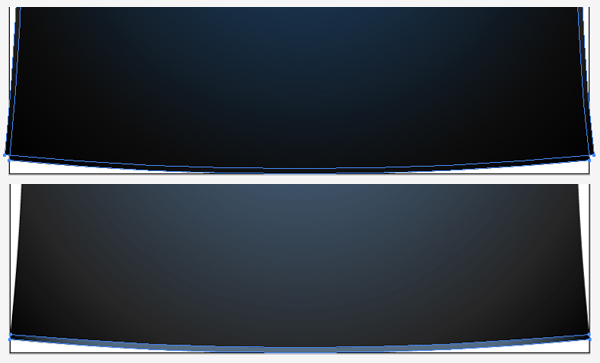
Step 11
Select Text Tool (T) and type "AI" using Bone Regular font (size 180pt). You can download the font here. Set it’s color to Blue – Color 70%. Go to Effect > Stylize > Inner Glow. Set Mode to "Sreen", color – white, Opacity – 100%, Blur – 7px, check "Edge".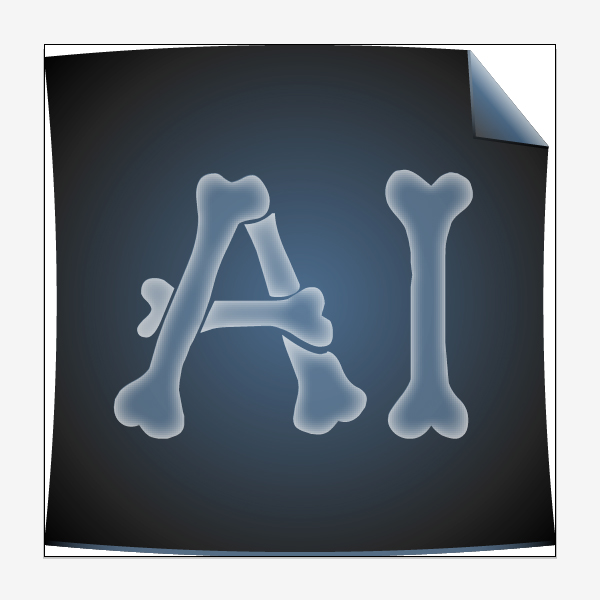
Conclusion
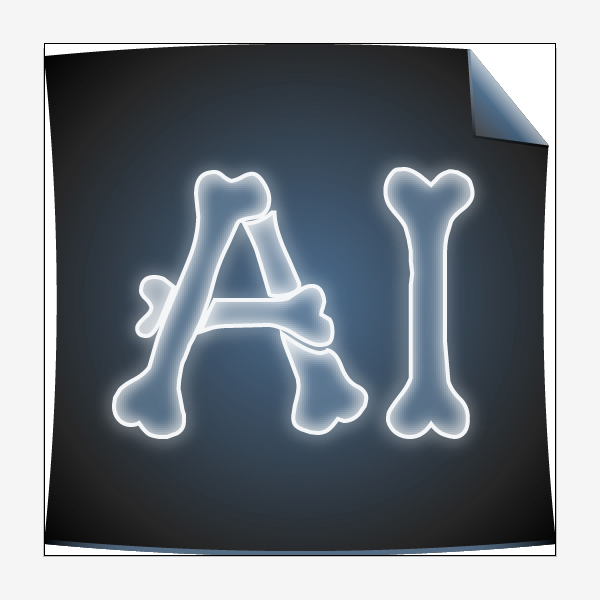
Finally create a copy of the text object. Press Shift + X and set the color of the stroke to white. Set stroke Weight to 2pt using Stroke panel. Go to Effect > Stylize > Outer Glow. Set Mode to "Normal", color – white, Opacity – 100%, Blur – 4px.This is it!
No comments:
Post a Comment